Again running smartctl after all is said and done:
smartctl --all /dev/sda
ddrescue-smartctl-after-rescue.png ddrescue-smartctl-2.png
Yet an old drive in itself, I run the wheels off of them, and monitor regularly as anyone should.
SCP or (secure copy) allows you to move files even entire directories to, or from local and or remote hosts, using the same authentication and securtiy levels as SSH.
Copy the file “foobar.txt” from a remote host to the local host
$ scp username@site.com:foobar.txt /local/directory
Copy the file “foobar.txt” from the local host to a remote host
$ scp foobar.txt username@remotehost.com:/path/to/directory
Copy the directory “foo” from the local host to a remote host’s directory “bar”
$ scp -r foo username@remotehost.com:/remote/directory/bar
Copy the file “foobar.txt” from remote host “site1.com” to remote host “site2.com”
$ scp username@site1.com:/remote/directory/foobar.txt \username@site2.com:/remote/directory/
Copying the files “foo.txt” and “bar.txt” from the local host to your home directory on the remote host
$ scp foo.txt bar.txt username@site.com:~
Copy the file “foobar.txt” from the local host to a remote host using port 1000 (or whatever ssh port your running on)
$ scp -P 1000 foobar.txt username@site.com:/remote/directory
Copy multiple files from the remote host to your current directory on the local host
    $ scp username@site.com:/remote/directory/\{a,b,c\} .

    $ scp username@site.com:~/\{foo.txt,bar.txt\} .
By default scp uses the Triple-DES cipher to encrypt the data being sent. Using the Blowfish cipher has been shown to increase speed on slower connections. This can be done by using option -c blowfish in the command line.
$ scp -c blowfish file.txt username@site.com:~
Use the -C option for compression, and a bit of speed. If you have a fast connection you might not notice much of a difference. However it is a bit more CPU intensive due to the algorithms used to generate the encryption.
Blowfish scp example:
$ scp -c blowfish -C file.txt username@site.com:~
Screen recording can use webm as their format, it can be more simple to use a gif to embed into a website or forum, than adding scripts to host different video format.
In this case I grabbed a screen record of the progress for writing zeros to a hard drive with dd
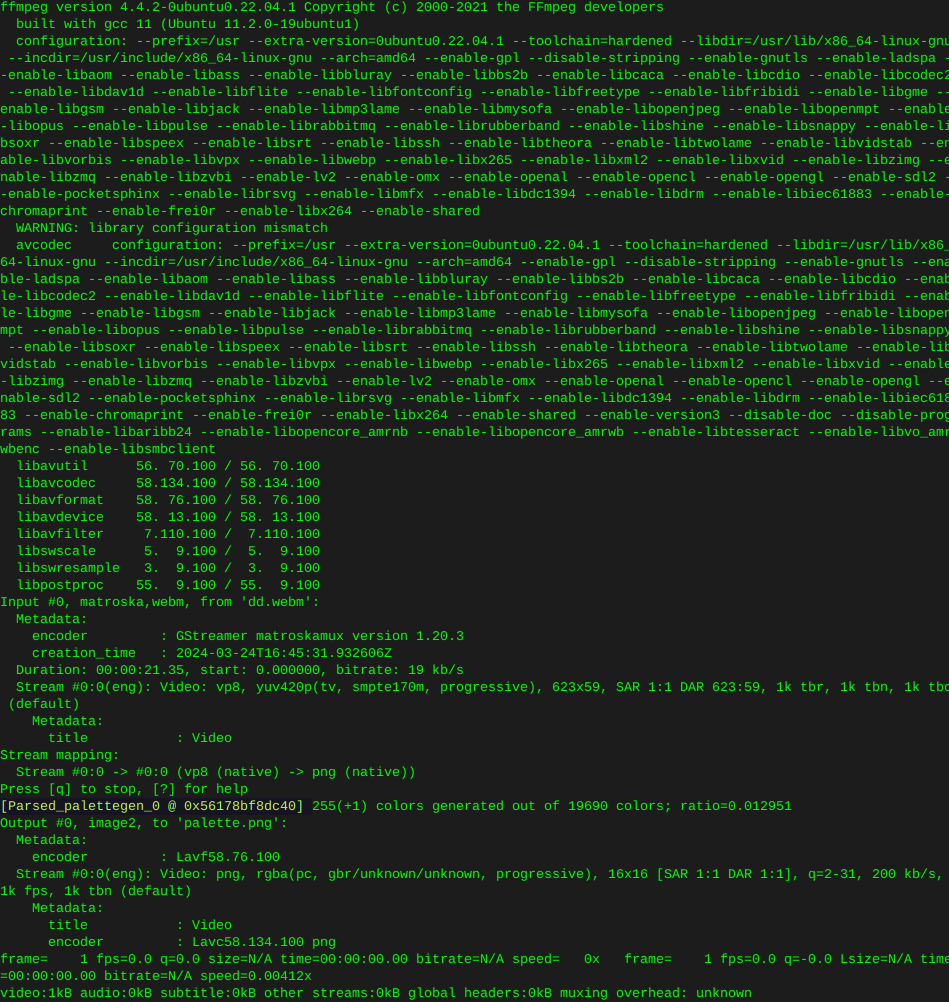
Use ffmpeg to convert webm to gif:
First create a pallet:
Move into the directory which the webm is located, or type in the path
Where ‘dd.webm’ is the screen recording
ffmpeg -y -i dd.webm -vf palettegen palette.pngOutput:
Then convert the webm to gif:
ffmpeg -y -i dd.webm -i palette.png -filter_complex paletteuse -r 10 dd.gif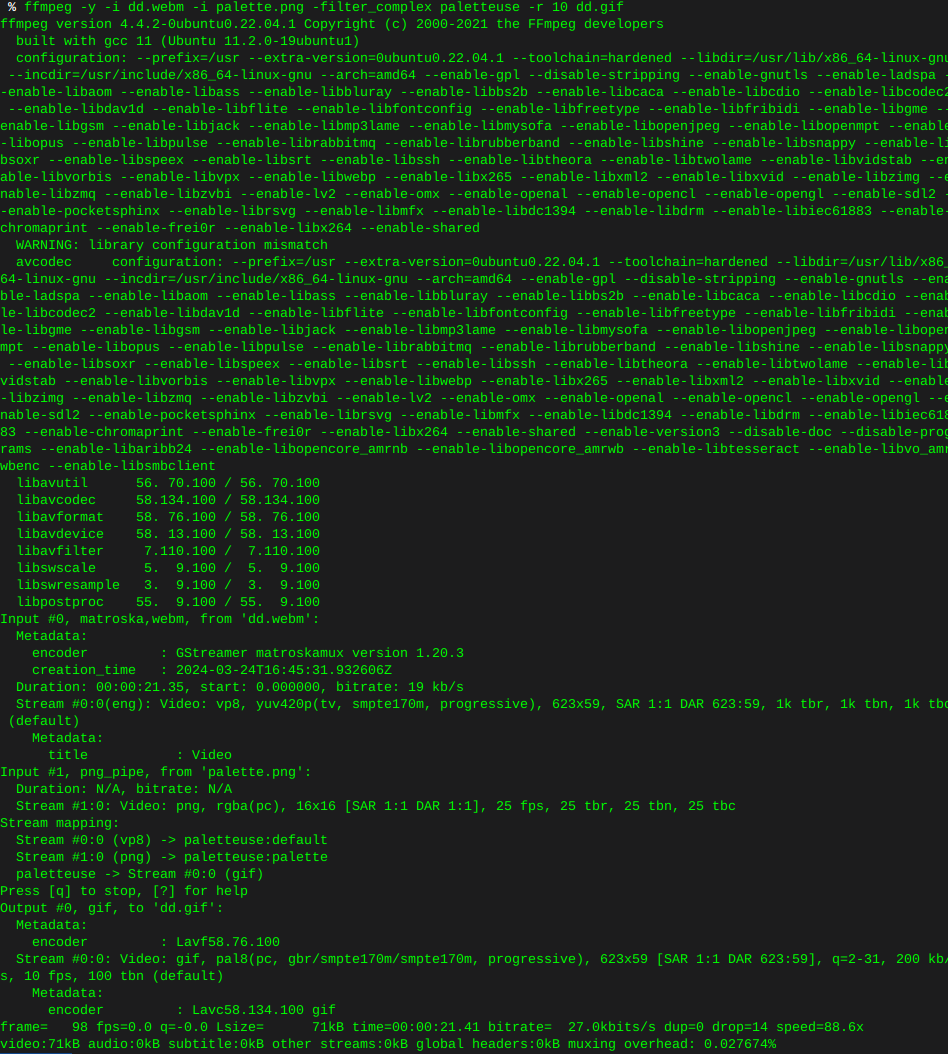
This is what I ended up with, looks like any image of any alien on the interwebz, as if shot through a potato, some tweaking of the command is in my future. None the less.

Write zeros to all sectors
Use the command ‘lsblk’ to find the drive you wish to erase
I’m using ‘dd’ to erase things
In this case I’m torching sdb
Only use status=progress if you care it’s not necessary
dd if=/dev/zero of=/dev/sdb bs=12M status=progress
Remove old kernel images that are cluttering the system
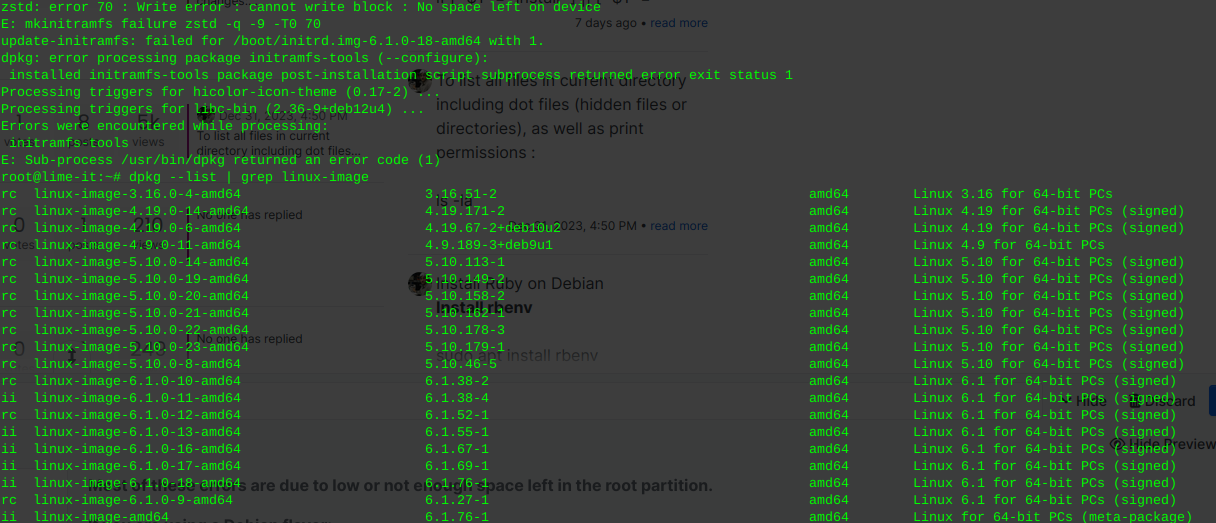
Most of these errors are due to low or not enough space left in the root partition.
If you are using a Debian flavor:
sudo apt-get autoremove --purge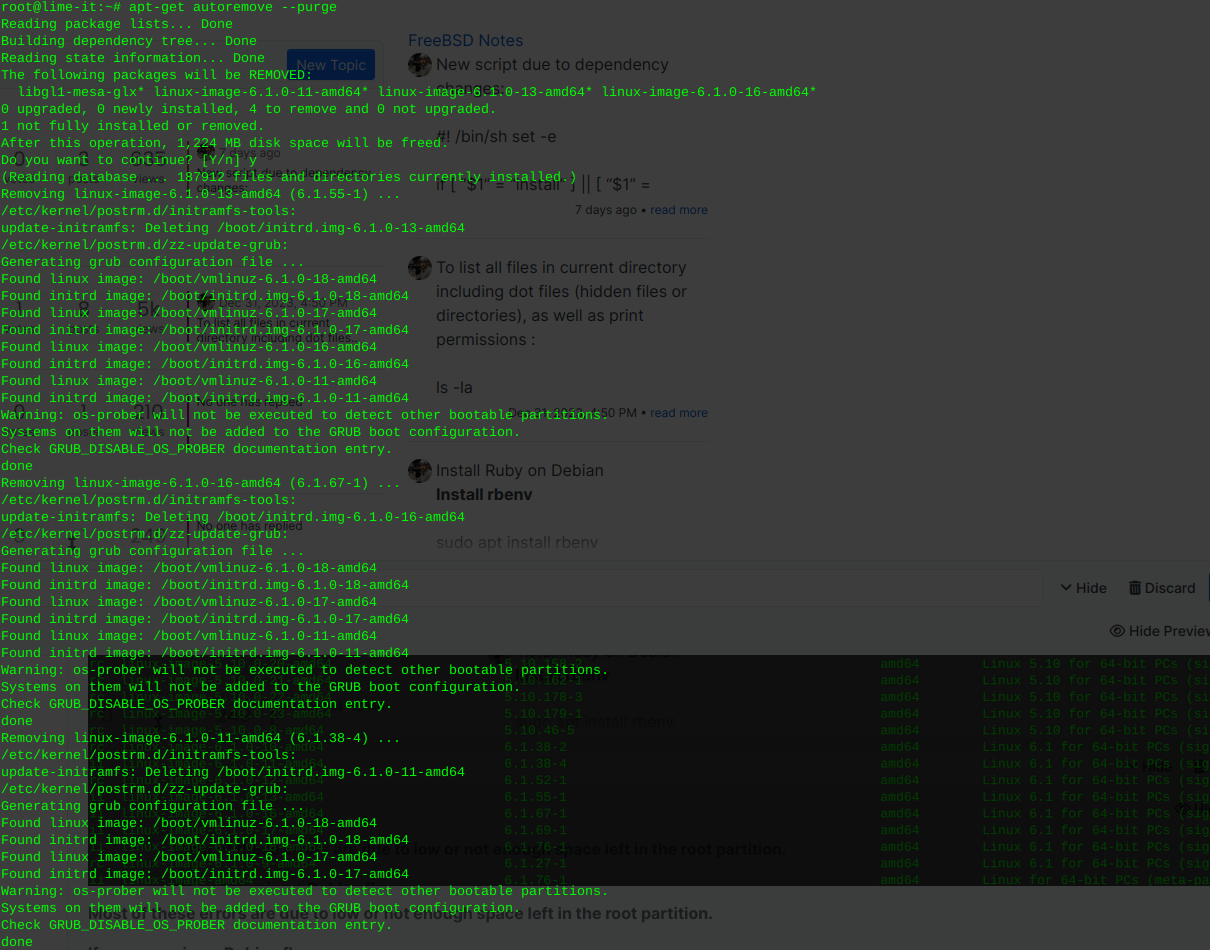
Inform grub whenever an old kernel is removed:
update grub
Remove the un-used kernel config files:
These will be the files pre cursed as ‘rc’ where installed kernels use ‘ii’
… As well as files no longer used or required due to dependencies
This command will detect, print, and remove left over cruft from previously installed packages or scripts, that have been removed or updated.
sudo dpkg --purge $(dpkg -l | awk '/^rc/{print $2}')
You can re-run the following to view the installed kernel(s):
dpkg --list | grep linux-image
To list all files in current directory including dot files (hidden files or directories), as well as print permissions :
ls -laInstall rbenv
sudo apt install rbenvThen initialize the environment:
rbenv init
Type or paste the output above, Ctrl +x to save
Apply:
source .bashrcInstall ruby-build
Install git:
sudo apt install git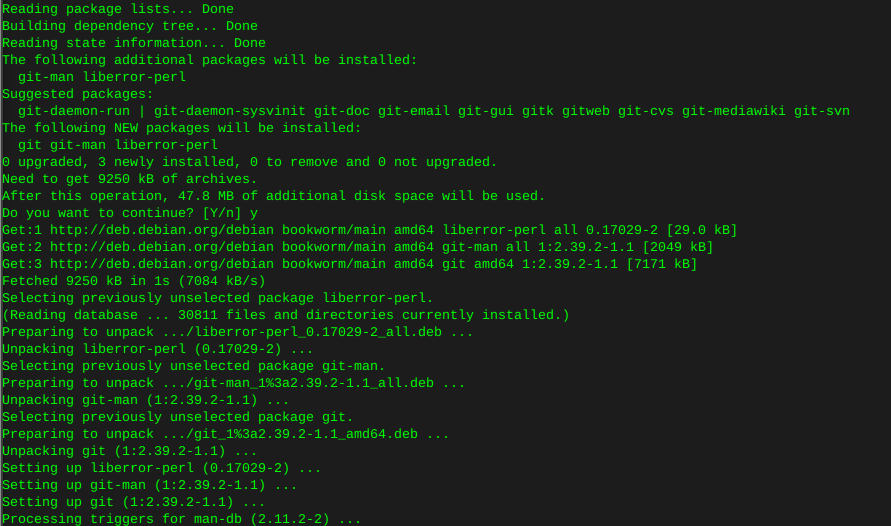
Clone to local:
git clone https://github.com/rbenv/ruby-build.git "$(rbenv root)"/plugins/ruby-build

Now install Ruby:
print ruby versions available
rbenv install --list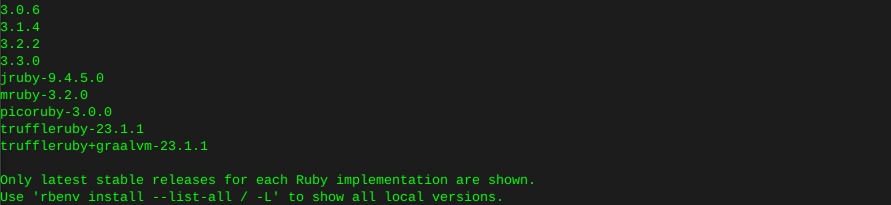
Install the latest version unless you have a reason otherwise:
rbenv install 3.3.0On this system there was an error compiling at this point with fiddle, as well as psych:
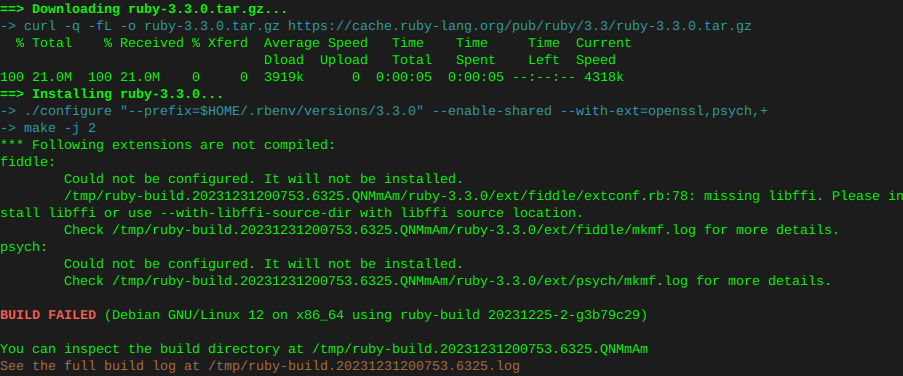
Therefore manually installing the following filled dependencies
sudo apt install libtool sudo apt install libffi-dev
print installed ruby version
ruby -v