


Again running smartctl after all is said and done:
smartctl --all /dev/sda
ddrescue-smartctl-after-rescue.png ddrescue-smartctl-2.png
Yet an old drive in itself, I run the wheels off of them, and monitor regularly as anyone should.
There are still those times when {place whatever issue or project here} will require burning optical media, even a CD if you enjoy toying around with older, even ancient hardware.
That said there are many GUI programs which can accomplish this. However that’s not always viable, or desired. Especially when you care more about the command line and keeping your brain from going sedentary, by constantly clicking a button and having something done for you. /snarky
In this instance I’ll burn an ISO image of hdat2 to a cd from the command line using wodim on Debian.
Install wodim:
sudo apt-get install wodim
Burn ISO to a cd:
Find the drive name in which you will use to write the image: You can have a quick look at how to burn an ISO to USB which contains the same basic procedure for locating storage devices locally. Or continue on.
Locate the device which you intend to use to burn by using the command:
lsblk
In this case the output is as follows:
rick@deb:~$ lsblk
NAME                        MAJ:MIN RM   SIZE RO TYPE   MOUNTPOINT
sda                           8:0    0 465.8G  0 disk
└─isw_ccheigfjba_Volume0    254:0    0 931.5G  0 dmraid
  ├─isw_ccheigfjba_Volume01 254:1    0 893.8G  0 dmraid /
  └─isw_ccheigfjba_Volume05 254:2    0  37.7G  0 dmraid
sdb                           8:16   0 465.8G  0 disk
└─isw_ccheigfjba_Volume0    254:0    0 931.5G  0 dmraid
  ├─isw_ccheigfjba_Volume01 254:1    0 893.8G  0 dmraid /
  └─isw_ccheigfjba_Volume05 254:2    0  37.7G  0 dmraid
sdc                           8:32   0     2T  0 disk
This shows two disks (sda & sdb) in raid form, as well as the optical device we will use (SDC)
Next, Navigate to the directory of the ISO (not required but simplifies the command) many times in the downloads directory.
Now we are ready to burn the ISO to cd.
Type the following in command line:
wodim -v dev=/dev/sr0 -eject -sao hdat2cd_51.iso
Here is the output after hitting return:
TOC Type: 1 = CD-ROM
scsidev: '/dev/sr0'
devname: '/dev/sr0'
scsibus: -2 target: -2 lun: -2
Linux sg driver version: 3.5.27
Wodim version: 1.1.11
SCSI buffer size: 64512
Device type    : Removable CD-ROM
Version        : 0
Response Format: 3
Capabilities   :
Vendor_info    : 'ATAPI   '
Identification : 'iHAS324   A     '
Revision       : 'BL1A'
Device seems to be: Generic mmc2 DVD-R/DVD-RW.
Current: 0x000A (CD-RW)
Profile: 0x002B (DVD+R/DL)
Profile: 0x001B (DVD+R)
Profile: 0x001A (DVD+RW)
Profile: 0x0016 (DVD-R/DL layer jump recording)
Profile: 0x0015 (DVD-R/DL sequential recording)
Profile: 0x0014 (DVD-RW sequential recording)
Profile: 0x0013 (DVD-RW restricted overwrite)
Profile: 0x0012 (DVD-RAM)
Profile: 0x0011 (DVD-R sequential recording)
Profile: 0x0010 (DVD-ROM)
Profile: 0x000A (CD-RW) (current)
Profile: 0x0009 (CD-R)
Profile: 0x0008 (CD-ROM)
Profile: 0x0002 (Removable disk)
Using generic SCSI-3/mmc   CD-R/CD-RW driver (mmc_cdr).
Driver flags   : MMC-3 SWABAUDIO BURNFREE FORCESPEED
Supported modes: TAO PACKET SAO SAO/R96P SAO/R96R RAW/R16 RAW/R96P RAW/R96R
Drive buf size : 1275648 = 1245 KB
Beginning DMA speed test. Set CDR_NODMATEST environment variable if device
communication breaks or freezes immediately after that.
FIFO size      : 12582912 = 12288 KB
Track 01: data    13 MB
Total size:       15 MB (01:34.97) = 7123 sectors
Lout start:       16 MB (01:36/73) = 7123 sectors
Current Secsize: 2048
ATIP info from disk:
  Indicated writing power: 3
  Reference speed: 6
  Is not unrestricted
  Is erasable
  Disk sub type: High speed Rewritable (CAV) media (1)
  ATIP start of lead in:  -11745 (97:25/30)
  ATIP start of lead out: 359848 (79:59/73)
  1T speed low:  4 1T speed high: 10
  2T speed low:  4 2T speed high:  0 (reserved val  6)
  power mult factor: 1 5
  recommended erase/write power: 5
  A1 values: 24 1A D8
  A2 values: 26 B2 4A
Disk type:    Phase change
Manuf. index: 40
Manufacturer: INFODISC Technology Co., Ltd.
Blocks total: 359848 Blocks current: 359848 Blocks remaining: 352725
Forcespeed is OFF.
Speed set to 1765 KB/s
Starting to write CD/DVD at speed  10.0 in real SAO mode for single session.
Last chance to quit, starting real write in    0 seconds. Operation starts.
Waiting for reader process to fill input buffer ... input buffer ready.
Performing OPC...
Sending CUE sheet...
Writing pregap for track 1 at -150
Starting new track at sector: 0
Track 01:   13 of   13 MB written (fifo 100%) [buf 100%]  10.6x.
Track 01: Total bytes read/written: 14587904/14587904 (7123 sectors).
Writing  time:   27.528s
Average write speed   3.9x.
Min drive buffer fill was 100%
Fixating...
Fixating time:   17.593s
BURN-Free was never needed.
wodim: fifo had 230 puts and 230 gets.
wodim: fifo was 0 times empty and 30 times full, min fill was 96%.
As you can see, the -v flag (verbose) allows us to get a bit more data as the process is happening. Of course this particular image was only ~15MB, so the time was very short, larger images will of course take much longer.
The burner door will open when the process is complete.
To burn a DVD via command line : We’ll use a script called growisofs:
sudo apt-get install growisofs
Follow the same procedure to locate the proper device using the command:
lsblk
Move to the directory the ISO is located, and type:
growisofs -dvd-compat -Z /dev/sr0=hdat2cd_51.iso
Fin
Screen recording can use webm as their format, it can be more simple to use a gif to embed into a website or forum, than adding scripts to host different video format.
In this case I grabbed a screen record of the progress for writing zeros to a hard drive with dd
Use ffmpeg to convert webm to gif:
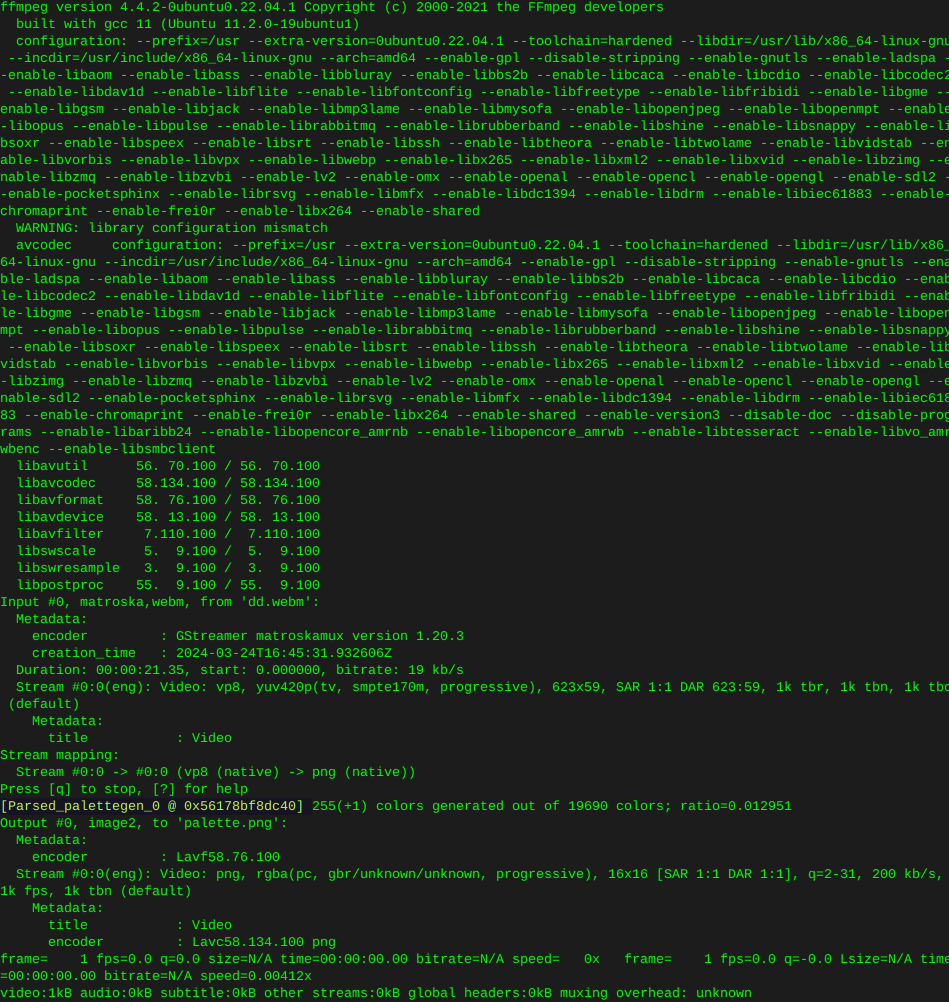
First create a pallet:
Move into the directory which the webm is located, or type in the path
Where ‘dd.webm’ is the screen recording
ffmpeg -y -i dd.webm -vf palettegen palette.pngOutput:
Then convert the webm to gif:
ffmpeg -y -i dd.webm -i palette.png -filter_complex paletteuse -r 10 dd.gif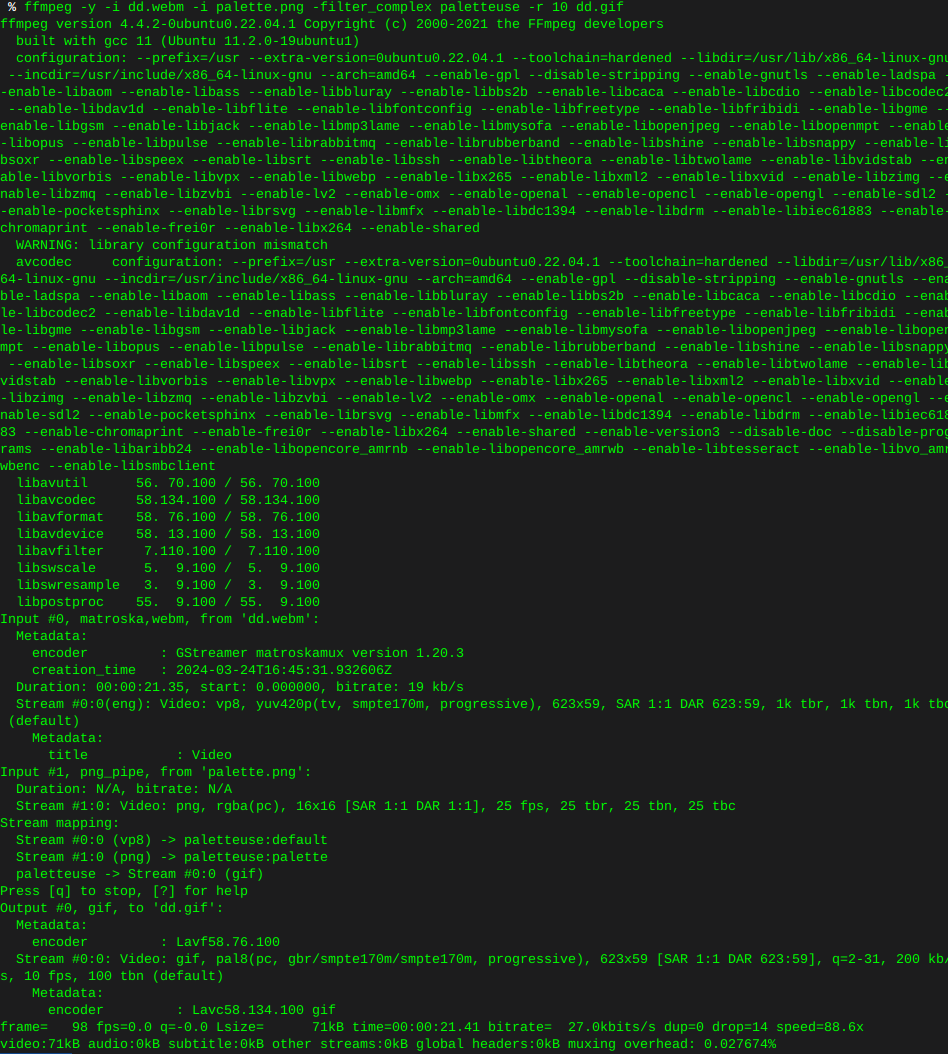
This is what I ended up with, looks like any image of any alien on the interwebz, as if shot through a potato, some tweaking of the command is in my future. None the less.

Write zeros to all sectors
Use the command ‘lsblk’ to find the drive you wish to erase
I’m using ‘dd’ to erase things
In this case I’m torching sdb
Only use status=progress if you care it’s not necessary
dd if=/dev/zero of=/dev/sdb bs=12M status=progress
Remove old kernel images that are cluttering the system
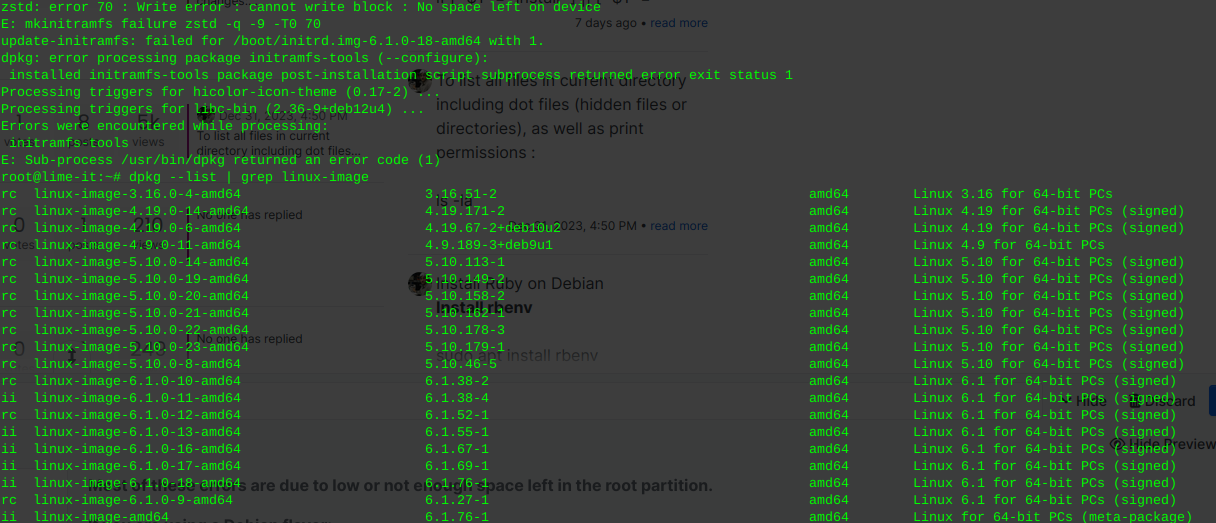
Most of these errors are due to low or not enough space left in the root partition.
If you are using a Debian flavor:
sudo apt-get autoremove --purge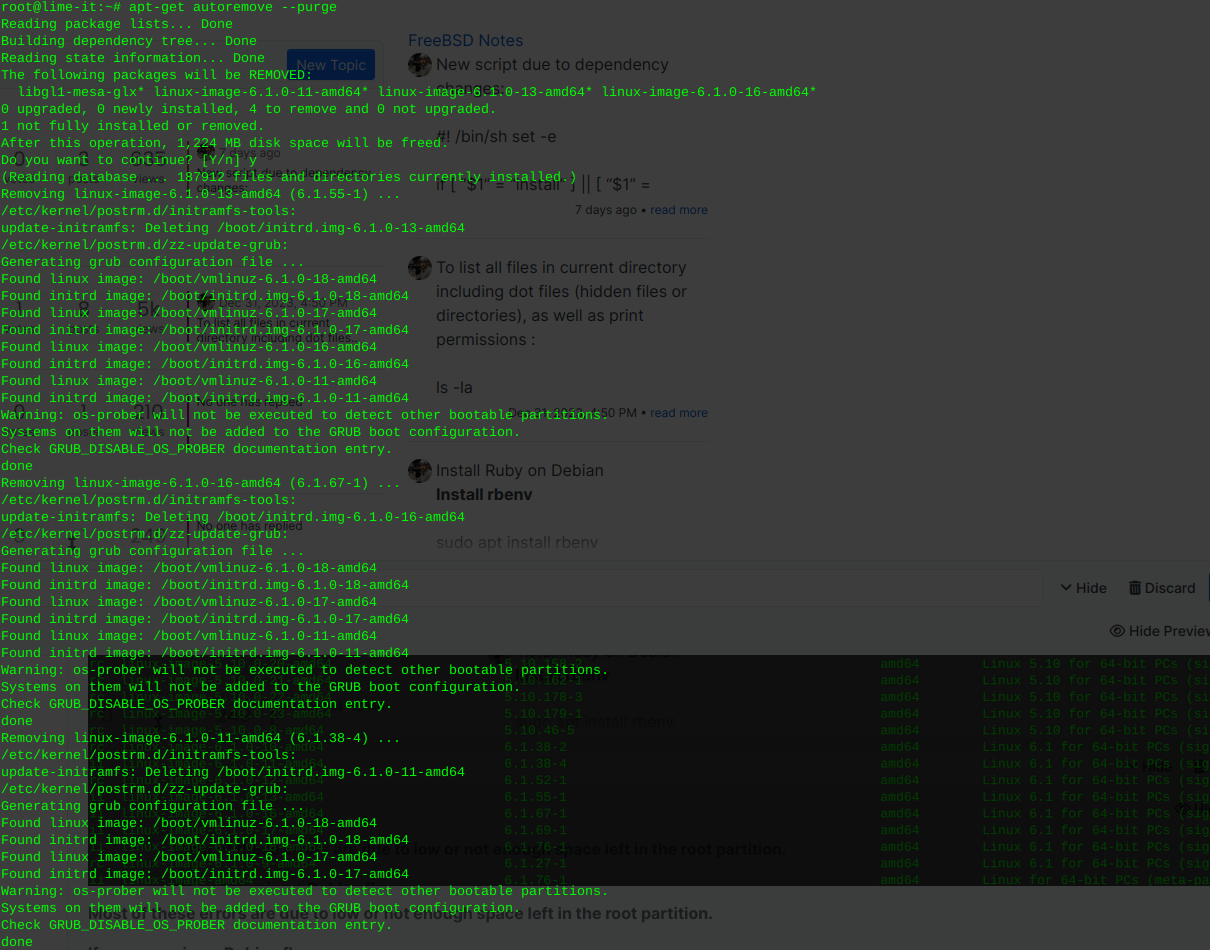
Inform grub whenever an old kernel is removed:
update grub
Remove the un-used kernel config files:
These will be the files pre cursed as ‘rc’ where installed kernels use ‘ii’
… As well as files no longer used or required due to dependencies
This command will detect, print, and remove left over cruft from previously installed packages or scripts, that have been removed or updated.
sudo dpkg --purge $(dpkg -l | awk '/^rc/{print $2}')
You can re-run the following to view the installed kernel(s):
dpkg --list | grep linux-image
To list all files in current directory including dot files (hidden files or directories), as well as print permissions :
ls -laInstall rbenv
sudo apt install rbenvThen initialize the environment:
rbenv init
Type or paste the output above, Ctrl +x to save
Apply:
source .bashrcInstall ruby-build
Install git:
sudo apt install git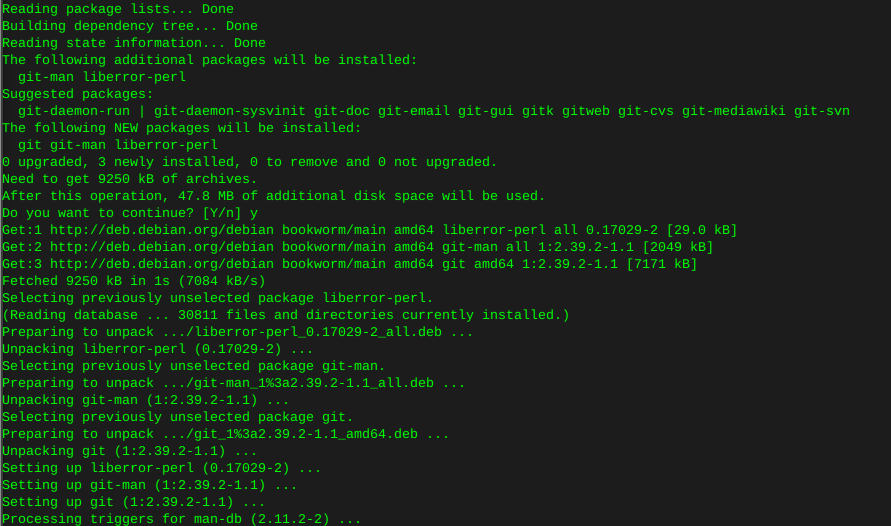
Clone to local:
git clone https://github.com/rbenv/ruby-build.git "$(rbenv root)"/plugins/ruby-build

Now install Ruby:
print ruby versions available
rbenv install --list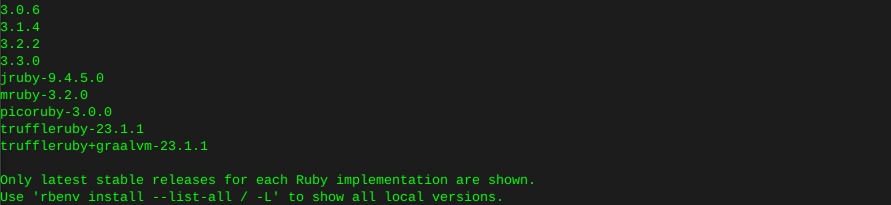
Install the latest version unless you have a reason otherwise:
rbenv install 3.3.0On this system there was an error compiling at this point with fiddle, as well as psych:
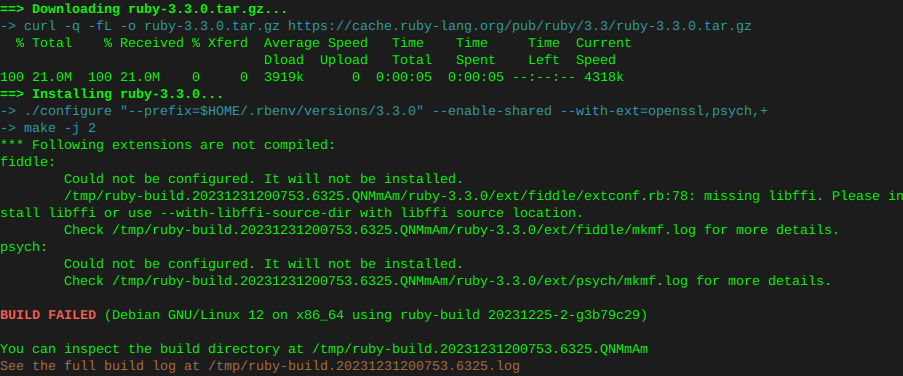
Therefore manually installing the following filled dependencies
sudo apt install libtool sudo apt install libffi-dev
print installed ruby version
ruby -v

