ddrescue clone failing hard drive
-
Clone hard drive with ddrescue
Testing a hard drive for failure via smartmontools
Install smartmontools if not already present: (debian)
apt-get install smartmontoolsLocate specific hard drives currently installed:
lsblk
In this case I choose device ‘sda’
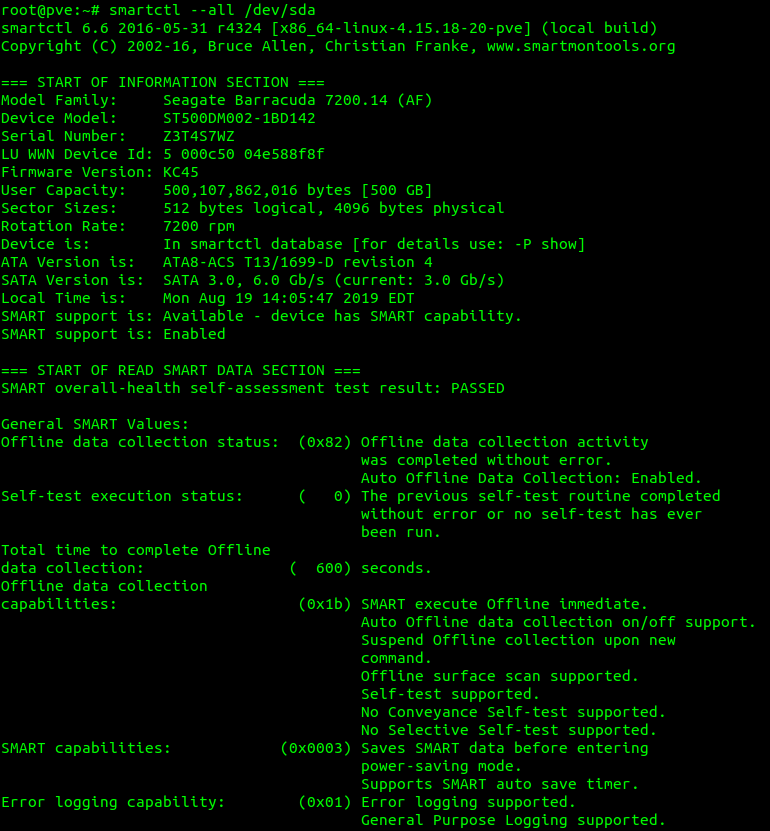
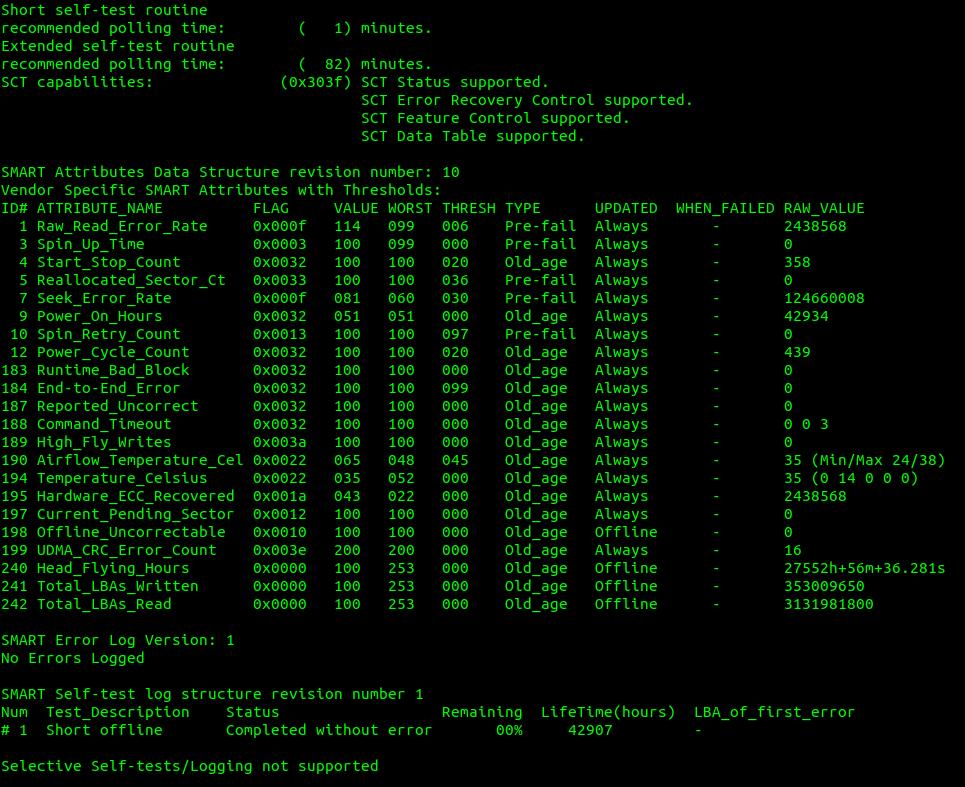
smartctl --all /dev/sda -q errorsonlyExample of failing hard drive:

Preparing a used hard drive for cloning
Clearing existing partitions from destination hard drive:
In this case the destination drive is defined as sdc:
I’ll use fdisk to clear all existing partitions:
fdisk /dev/sdcThen print partition existing on sdc by typing the letter pp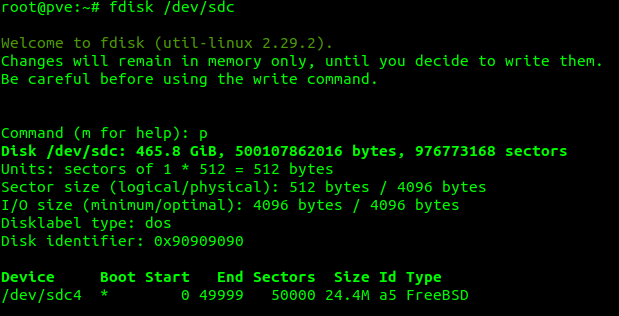
The above image shows some detail on the destination drive, including on FreeBSD partition named /dev/sdc4
Since there is only one partition on the destination drive, we simply need to type the letter d at the fdisk command prompt:
d
If there are more existing partitions on the destination drive, we are presented with them, and numbers to go along, we select which partition via numbers what we delete (in this case everything)
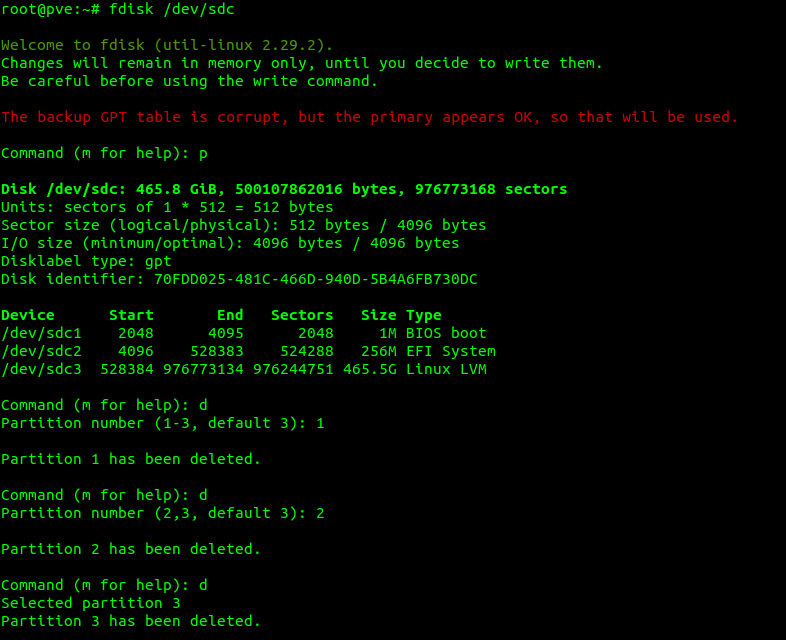
Once we’ve removed the partitions, we type the letter w to write the changes, (actually delete the partitions)
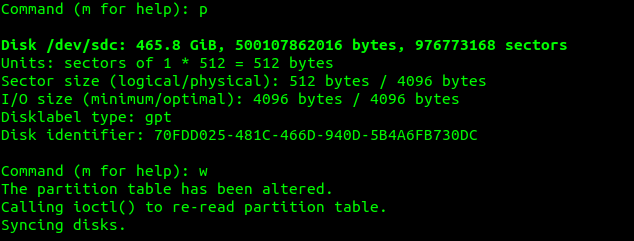
I type the letter p once again to make sure no partitions are still on the disk and then the letter w to write the changes:
Using ddrescue to clone the hard drive:
!Insure your drive letters are correct!
The command I use to simplify the procedure including reading the damaged drive and putting as little pressure on it as we can manage, while getting as much data as we can, are as follows:
Insure existing, or damaged hard drive first, and destination hard drive second (In other terms input file first and output file second)
ddrescue -f -n /dev/sda /dev/sdc /root/recovery.logFrom https://linux.die.net/man/1/ddrescue
-f, --force overwrite output device or partition
-n, --no-split do not try to split or retry failed blocks
We set a log file, which ddrescue can read later if for any reason the proceedure fails in the middle. Or also if we do not get as close to a 100% success rate when finished, the log file will set ddrescue to only attempt to get failed blocks on additional runs.

In this case 100% of the data was recovered, and transferred to the new hard drive:

I run lsblk once again to check partitions have been transferred:

I then restart the machine:
shutdown -r nowAfter a restart, the journal will be recovered as well as other routine scripts run. I remove other old, damaged hard drives during the restart just before the BIOS kicks up.
Again after a restart I run :
lsblk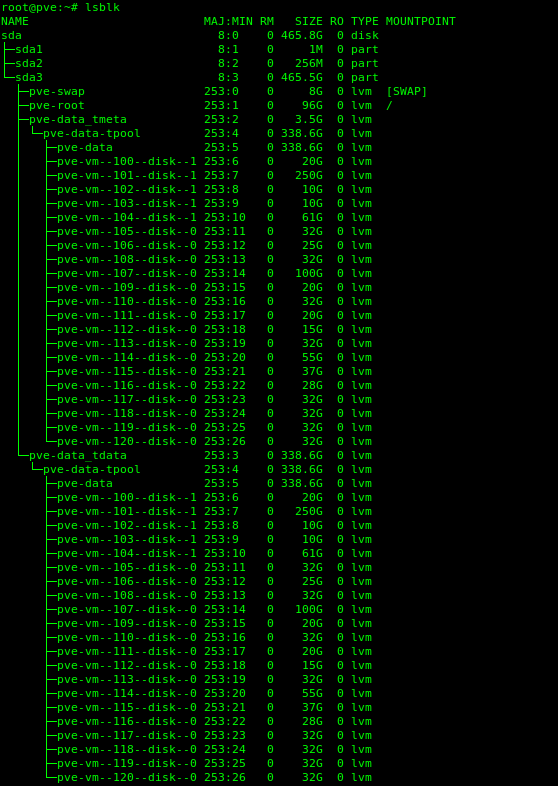
Fin!
Note This local server is a test environment running ProxMox. Everything running as it should after the clone.
-
Clone hard drive with ddrescue
Testing a hard drive for failure via smartmontools
Install smartmontools if not already present: (debian)
apt-get install smartmontoolsLocate specific hard drives currently installed:
lsblk
In this case I choose device ‘sda’
smartctl --all /dev/sda -q errorsonlyExample of failing hard drive:

Preparing a used hard drive for cloning
Clearing existing partitions from destination hard drive:
In this case the destination drive is defined as sdc:
I’ll use fdisk to clear all existing partitions:
fdisk /dev/sdcThen print partition existing on sdc by typing the letter pp
The above image shows some detail on the destination drive, including on FreeBSD partition named /dev/sdc4
Since there is only one partition on the destination drive, we simply need to type the letter d at the fdisk command prompt:
d
If there are more existing partitions on the destination drive, we are presented with them, and numbers to go along, we select which partition via numbers what we delete (in this case everything)

Once we’ve removed the partitions, we type the letter w to write the changes, (actually delete the partitions)
I type the letter p once again to make sure no partitions are still on the disk and then the letter w to write the changes:

Using ddrescue to clone the hard drive:
!Insure your drive letters are correct!
The command I use to simplify the procedure including reading the damaged drive and putting as little pressure on it as we can manage, while getting as much data as we can, are as follows:
Insure existing, or damaged hard drive first, and destination hard drive second (In other terms input file first and output file second)
ddrescue -f -n /dev/sda /dev/sdc /root/recovery.logFrom https://linux.die.net/man/1/ddrescue
-f, --force overwrite output device or partition
-n, --no-split do not try to split or retry failed blocks
We set a log file, which ddrescue can read later if for any reason the proceedure fails in the middle. Or also if we do not get as close to a 100% success rate when finished, the log file will set ddrescue to only attempt to get failed blocks on additional runs.

In this case 100% of the data was recovered, and transferred to the new hard drive:

I run lsblk once again to check partitions have been transferred:

I then restart the machine:
shutdown -r nowAfter a restart, the journal will be recovered as well as other routine scripts run. I remove other old, damaged hard drives during the restart just before the BIOS kicks up.
Again after a restart I run :
lsblk
Fin!
Note This local server is a test environment running ProxMox. Everything running as it should after the clone.

